If you have created a Laravel project on your desktop, it's time to upload it to your server for launch.
First, create an app for your Laravel project in SellCloud, but do not install Laravel. Your own project would just overwrite it anyway.
Then, log in to your server through Cyberduck (or your preferred SFTP client) with the username sellcloud and the password you created when you connected your server to SellCloud. (If you followed our tutorials on uploading files and configuring Cyberduck, then your server may already be displayed under Cyberduck's History tab, and you can double-click it.)
Next, follow this path to your app directory, where APPNAME is the name of your app (we use laravel in this tutorial):
apps/APPNAME
Double-click your app directory to enter it. Then, select Upload from the Cyberduck File menu.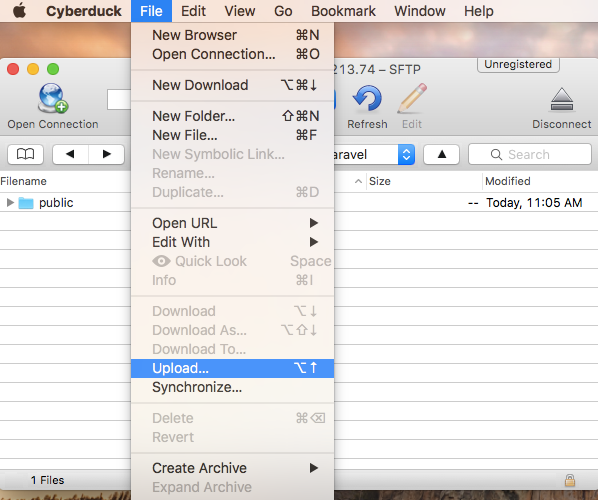
Navigate to your project's location on your desktop, then click Options in the window, and place a check mark next to Show Hidden Files.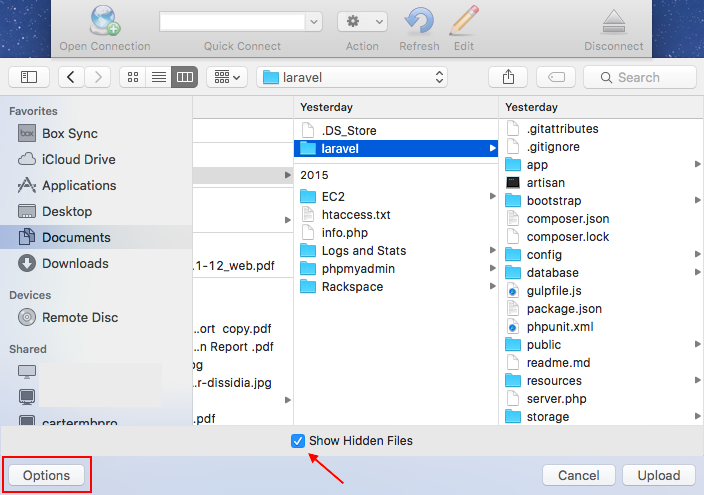
Select all of the files in your project's directory and click Upload.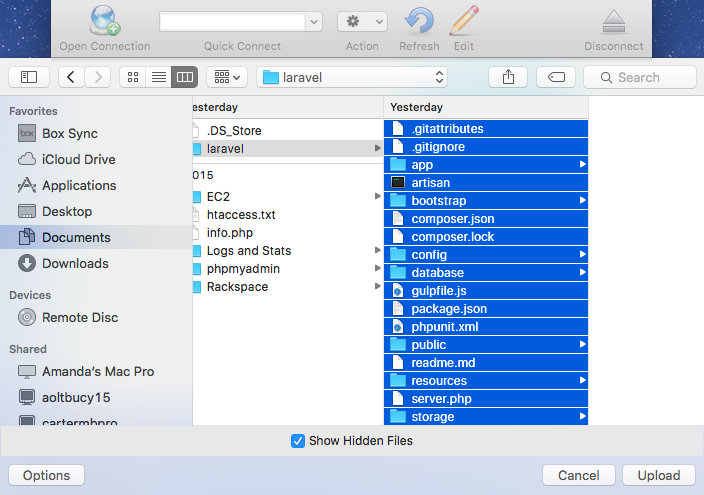
When Cyberduck asks to overwrite your existing public folder and index.php file, click Continue.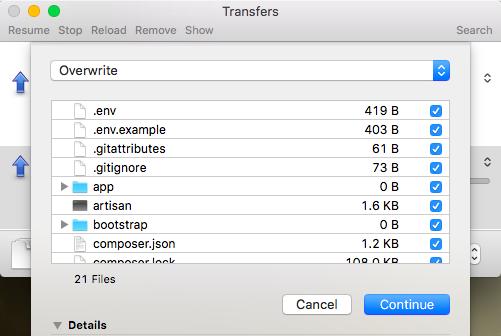
When your project has finished uploading, your Laravel app should be ready to view.
Alert: For Control Panel Help & Tutorials, click here: Panel Tutorials
