If you have created a WordPress site using Bitnami but discovered you need a server that's easier to manage and keep secure, you can transfer your website to a server with DigitalOcean or another VPS provider that is connected to SellCloud.
Set Up WordPress through SellCloud
First, follow our complete instructions to install WordPress on your server.
Then, log in to your new WordPress Dashboard. Install and activate the All-in-One WP Migration plugin.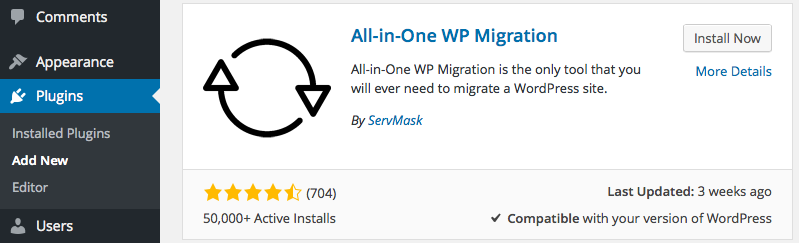
Export Your Bitnami Site
Now, log in to your Bitnami WordPress Dashboard and open the All-in-One WP Migration Export tool.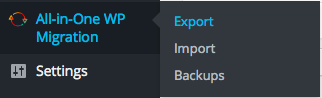
We recommend using All-in-One WP Migration’s default settings to export your entire WordPress site. Expand the Advanced Options to make sure every box is unchecked.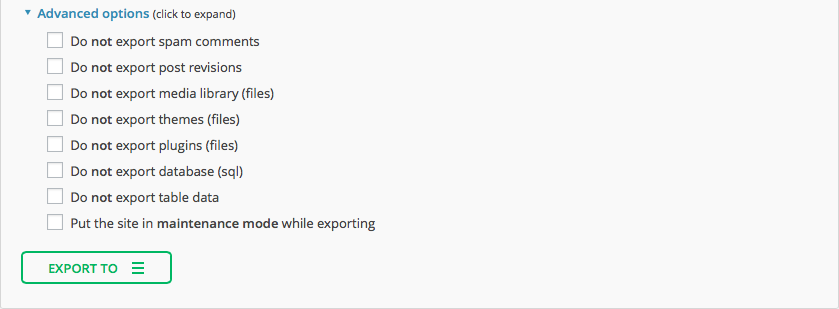
Next, click Export To and select File when the button expands.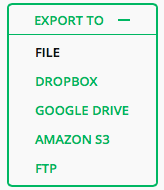
When the file finishes compiling, click the flashing Download button.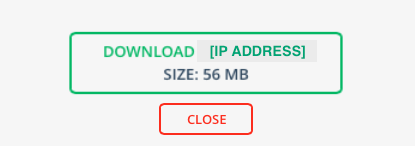
Your Bitnami WordPress site will be exported to your computer's default Downloads folder.
Import into Your New WordPress Installation
In your new WordPress Dashboard, open the All-in-One WP Migration Import tool.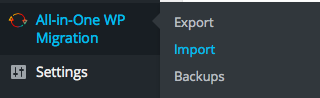
Drag your exported site from your computer's Downloads folder to your new site.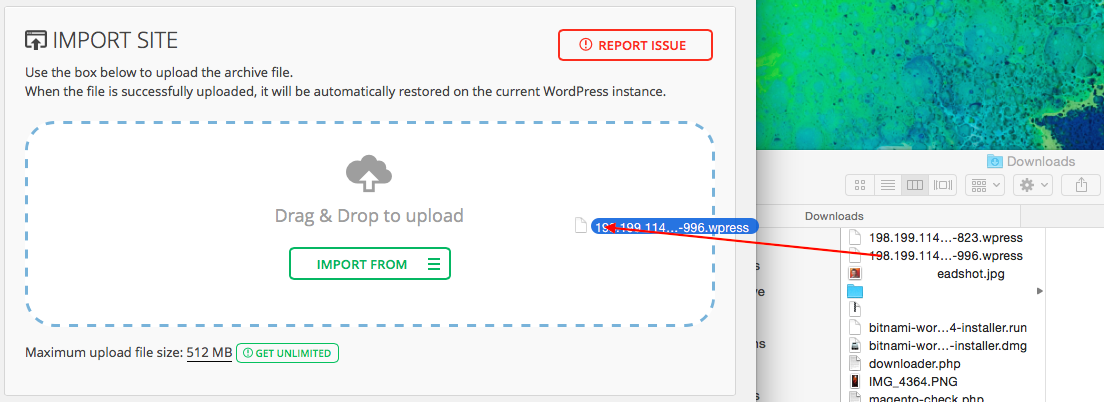
A progress bar will appear when the import successfully begins.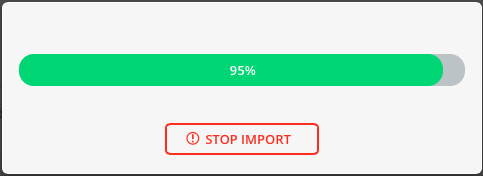
Importing your Bitnami site into your new SellCloud/DigitalOcean installation will overwrite your database, media, plugins, and themes. As long as you import onto a fresh WordPress installation, you can click Continue when the warning pops up.
To complete the import process, you will also need to save your permalink structure twice.
If you used a different username and password to set up your SP/DO WordPress installation, it will be overwritten by the import. You will need to log in to WordPress with your Bitnami site's username and password. However, the MySQL database username and password you created in SellCloud will remain intact.
That's It!
Your site should now be successfully transferred to your new VPS.
Alert: For Control Panel Help & Tutorials, click here: Panel Tutorials
