NinjaFirewall is a stand-alone web application firewall that stands between your WordPress site and everyone else. It easy to use and is installed just like a plugin.
Installing NinjaFirewall
To install NinjaFirewall, first log in to your WordPress Dashboard and select Add New from the Plugins menu.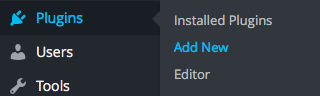
Then, search for "NinjaFirewall".
Click Install Now.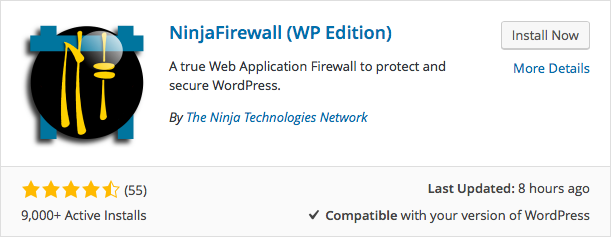
When the plugin has finished installing, click Activate Plugin.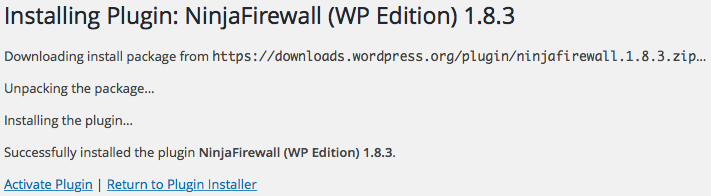
Configuring NinjaFirewall
Now that you've activated it, open NinjaFirewall from your WordPress Dashboard.
Pay attention to the disclaimers at the top of the screen. We've also provided them here:
- Do not rename, edit, or delete NinjaFirewall's files or folders, even if it is disabled from the plugins page.
- Do not migrate your site with NinjaFirewall installed. Export its configuration, uninstall it, migrate your site, reinstall NinjaFirewall, and reimport its configuration.
- Failure to follow these steps will almost always cause you to be locked out of your own site.
Once you understand those disclaimers, click Enough Chit-Chat, Let's Go! at the bottom of the screen.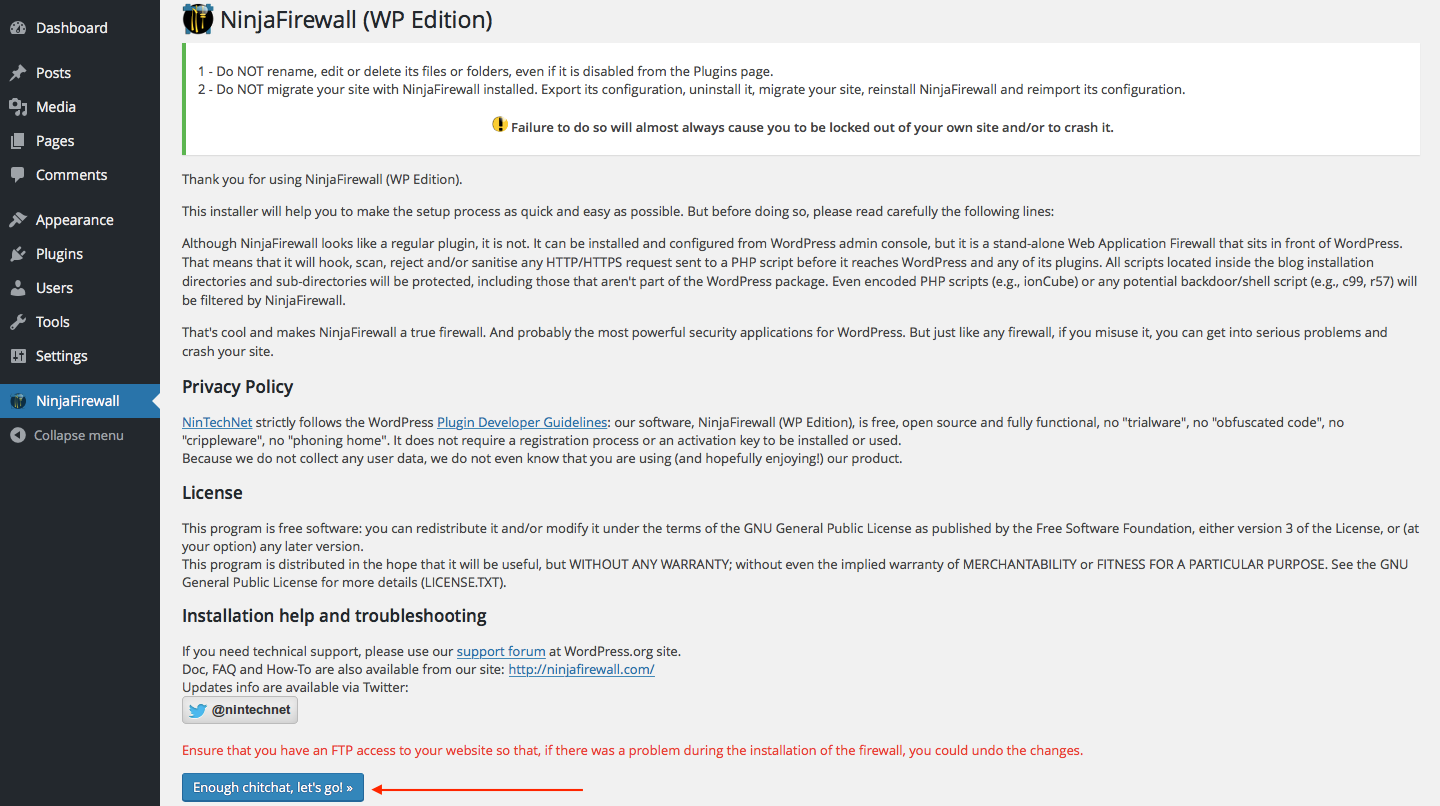
On the system configuration screen, select Apache + CGI/FastCGI for your server API and .user.ini for the PHP initialization file.
Click Next Step.
Under Firewall Integration, elect to Let NinjaFirewall make the above changes.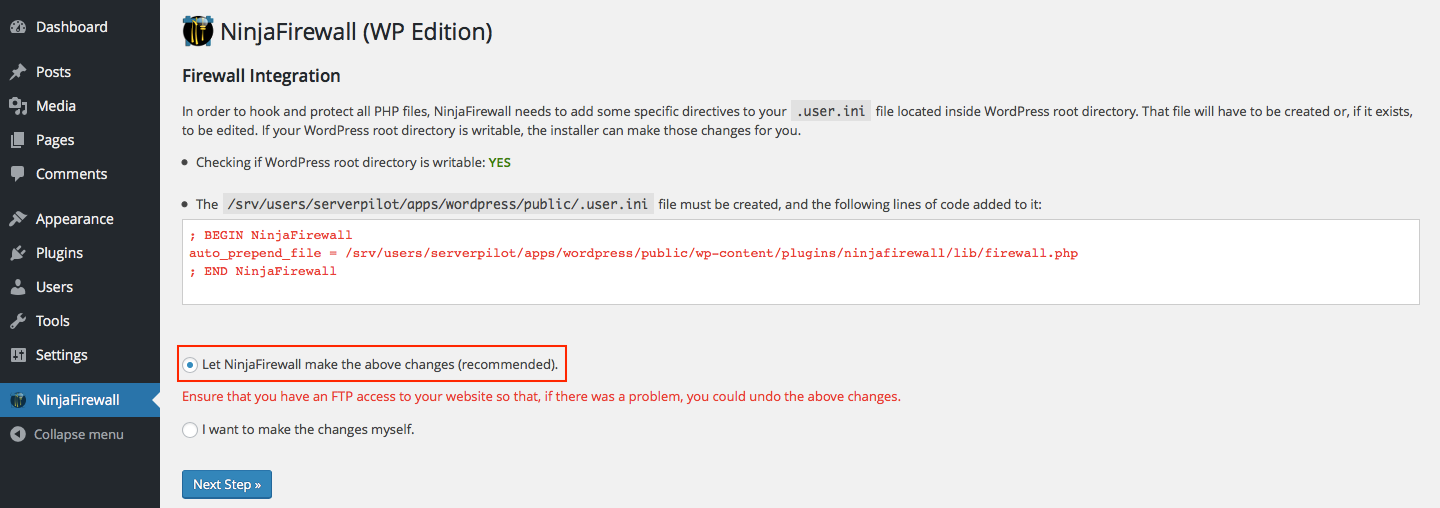
Click Next Step.
Finally, click Test Firewall to ensure your firewall integration with your WordPress site was successful.
You can tailor NinjaFirewall to your needs by opening the new NinjaFirewall menu from your dashboard and choosing the options that work best for you.
For example, select Login Protection to enable brute force protection for your site.
Alert: For Control Panel Help & Tutorials, click here: Panel Tutorials
